


Visit the Official Ledger Website
Start with a visit to Ledger.com, where you'll find the authentic Ledger Live application. Our official website provides the latest stable version, complete with security certificates and verification tools. Regular updates ensure you're always protected against emerging threats while gaining access to the newest features and supported assets.
Install Ledger App
Experience a streamlined installation process tailored to your operating system. The installer performs comprehensive security checks, verifies system requirements, and establishes secure connection protocols. With built-in integrity verification, you can be confident you're installing genuine Ledger software that maintains the highest security standards for your digital assets.
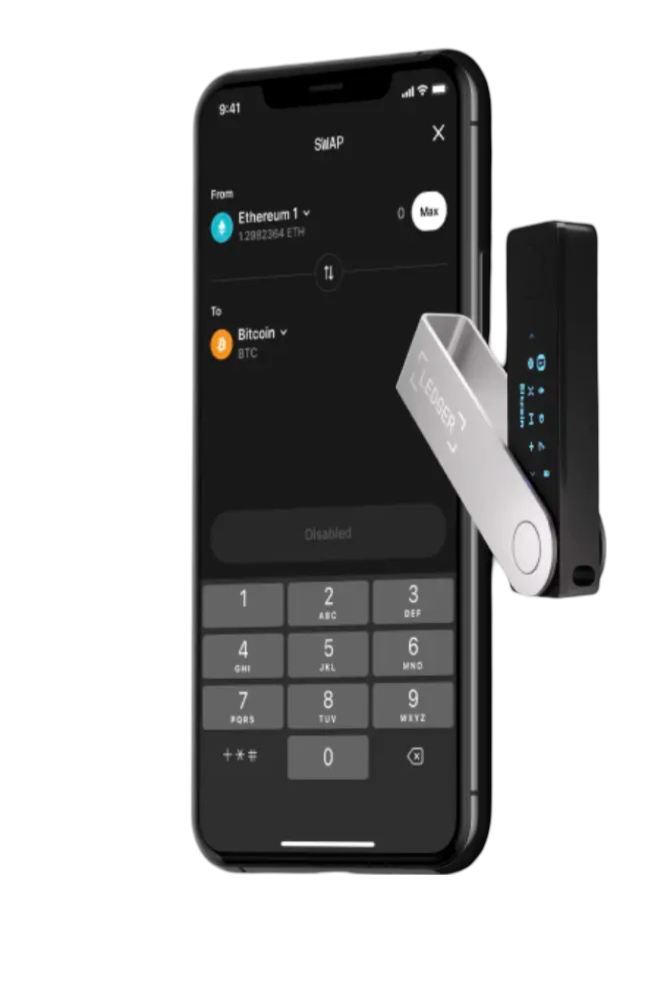
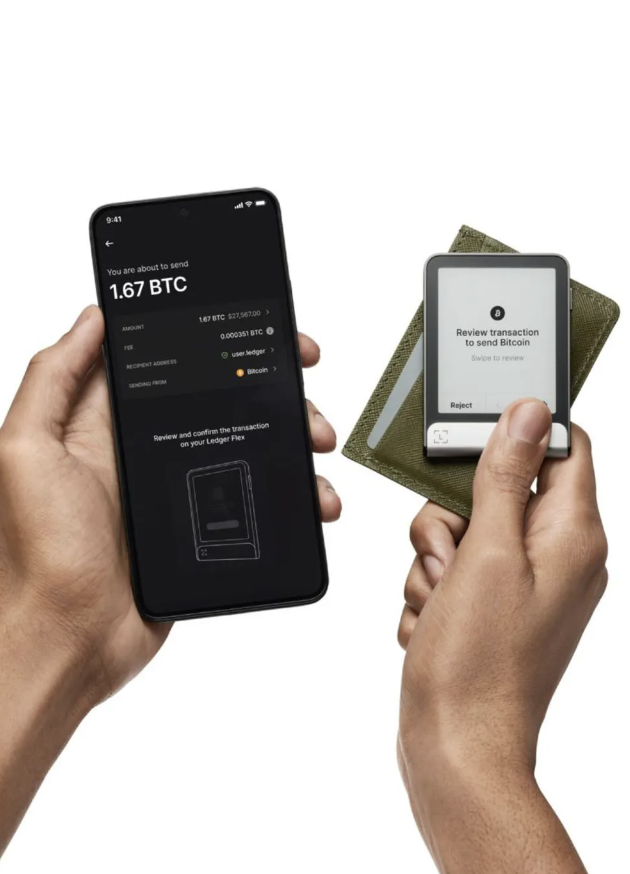
Pair Your Ledger Hardware Wallet
Connect your hardware wallet to unlock Ledger Live's full potential. The application automatically detects your device and guides you through a secure authentication process. Stay current with automatic firmware update notifications, ensuring your hardware wallet maintains cutting-edge security features. The pairing process creates a trusted connection between your device and the application, establishing a secure foundation for all your cryptocurrency operations.
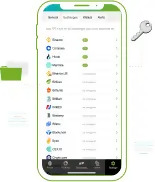
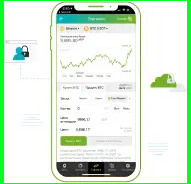
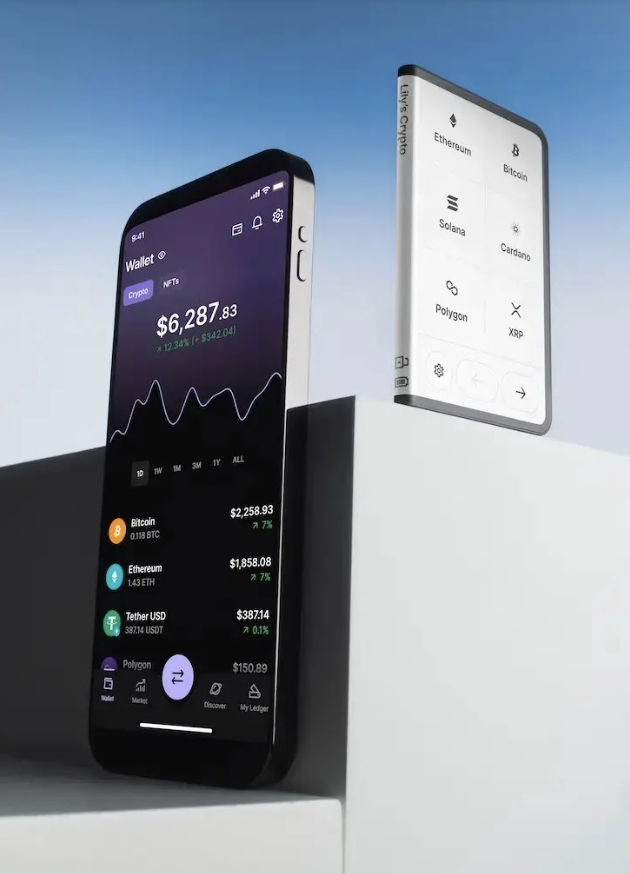
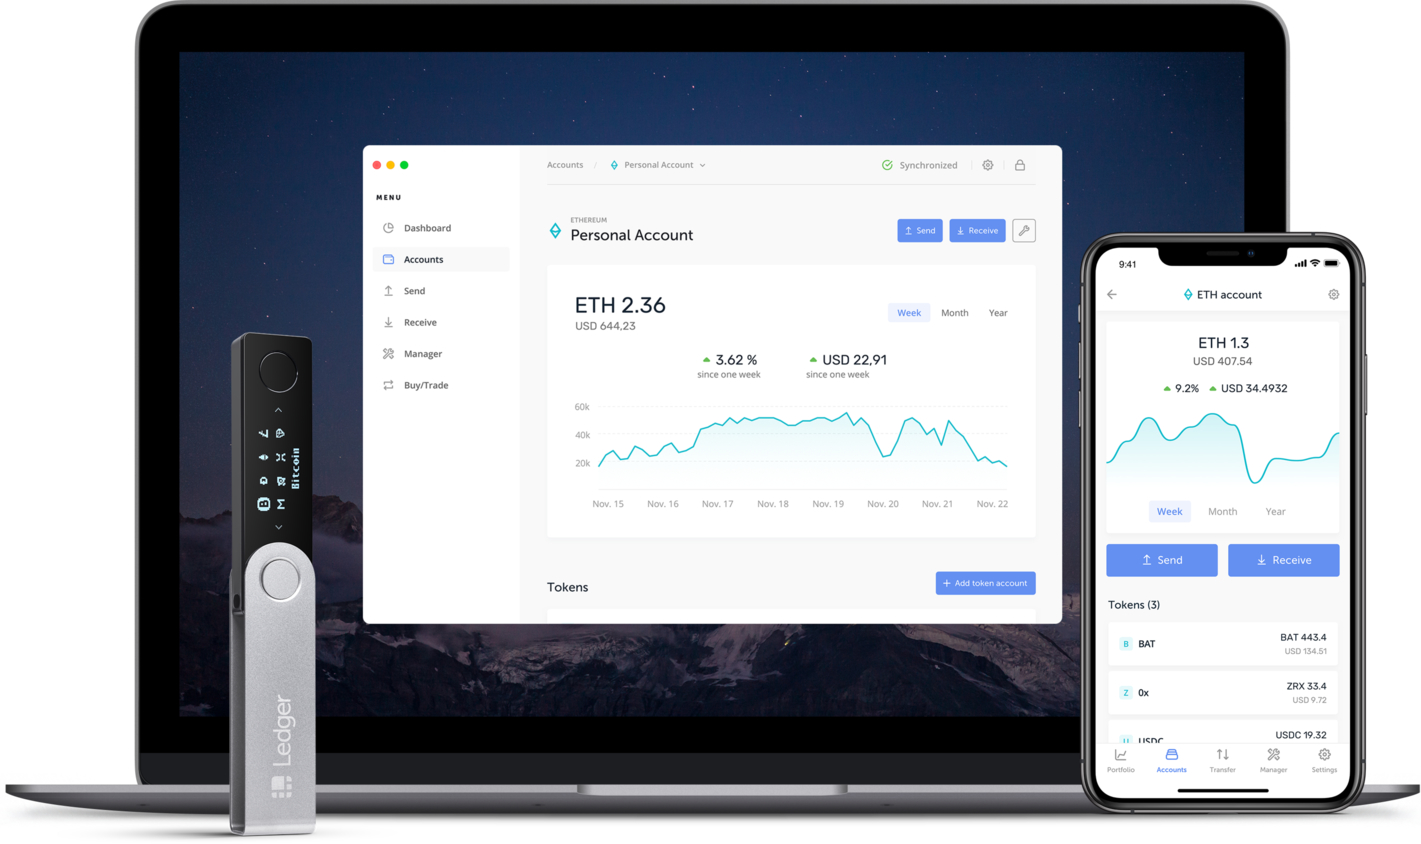
Create and Manage Crypto Accounts
Transform your Ledger device into a powerful financial platform through intuitive account creation. The application seamlessly synchronizes with your hardware wallet, allowing you to manage multiple cryptocurrencies while maintaining strict security protocols. Add accounts for different assets with just a few clicks, while your private keys remain safely stored on your hardware wallet. The platform's clear interface helps you organize your portfolio efficiently, whether you're managing a single cryptocurrency or a diverse collection of digital assets.