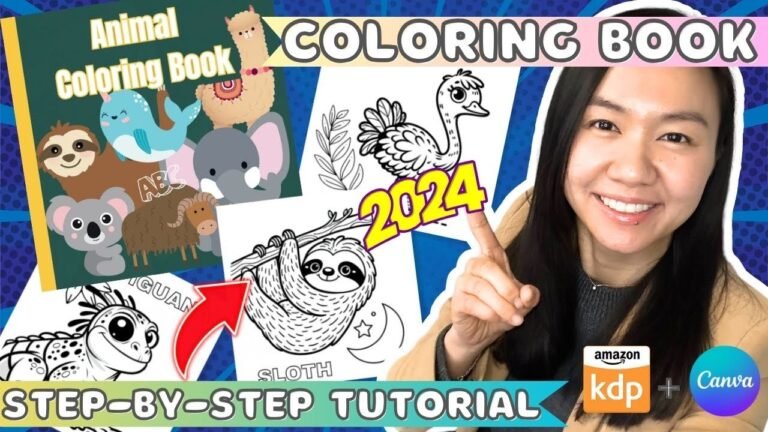
How to Make Your Own Coloring Book: A Step-by-Step Guide
To make your own coloring book, gather your drawings and compile them into a book format. Print and bind the pages.
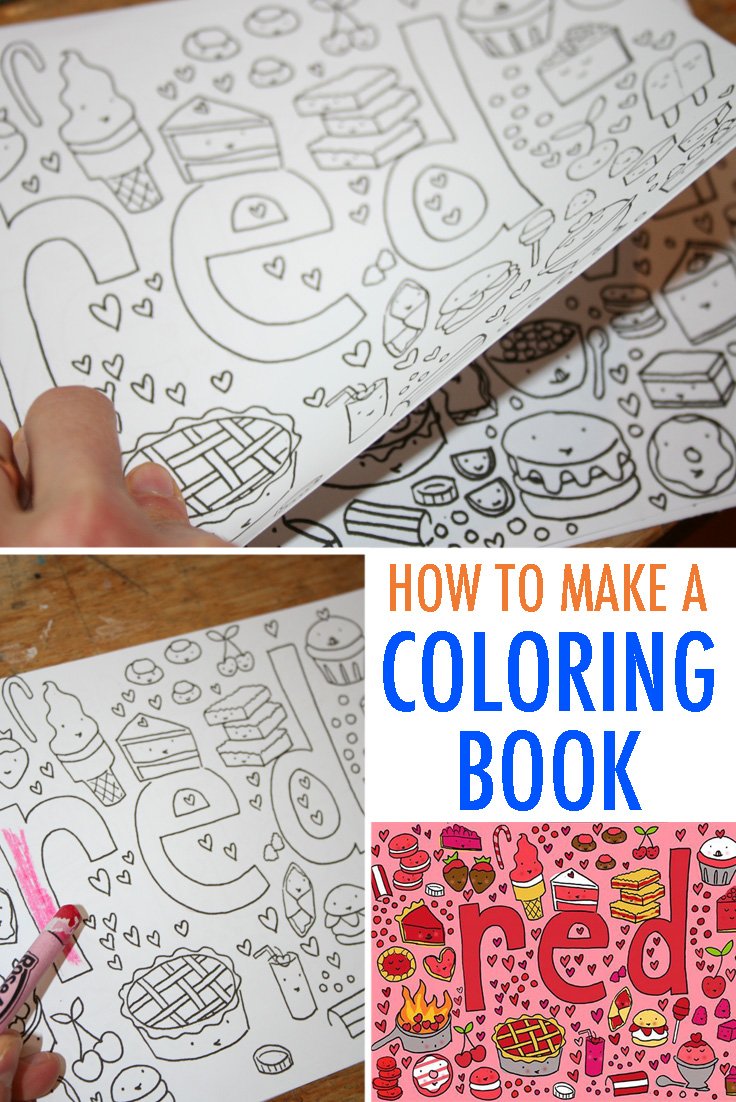
Creating your own coloring book can be a fun and rewarding project. It allows you to express creativity and share your artwork with others. Start by sketching or digitally designing a series of illustrations. Aim for a variety of themes to keep it interesting.
Once you have a collection, scan or upload your drawings to your computer. Use a design software to arrange the images into a book layout. Print the pages on high-quality paper. Finally, bind your book with a spiral binding or have it professionally bound. This project is perfect for artists, teachers, or anyone looking to create a personalized gift.

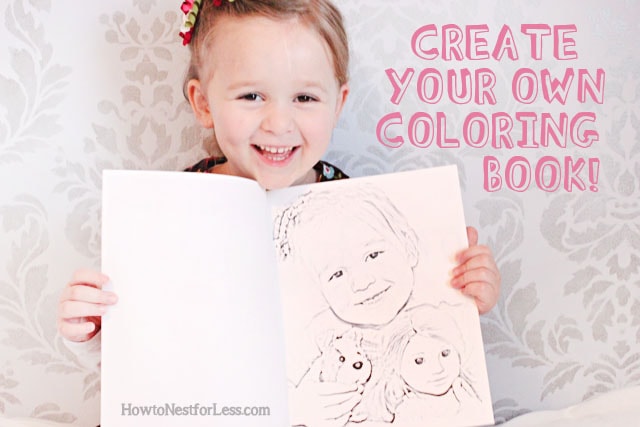
Credit: www.beautythroughimperfection.com
Choosing A Theme
Choosing a theme is the first step in creating your coloring book. A theme sets the tone and brings cohesion to your book. It helps you target your audience and ensures your content is engaging.
Popular Themes
Some themes are universally loved. These themes are easy to work with and are sure to attract a wide audience.
- Animals: Everyone loves coloring cute animals. This theme works for all ages.
- Nature: Trees, flowers, and landscapes offer endless possibilities.
- Mandalas: Intricate patterns provide a relaxing coloring experience.
- Fantasy: Unicorns, dragons, and magical lands captivate the imagination.
- Holiday: Themes like Christmas or Halloween are always popular.
Unique Theme Ideas
If you want your coloring book to stand out, consider unique themes. These ideas can offer a fresh take and attract niche audiences.
- Food: Cupcakes, pizzas, and fruits can be fun to color.
- Historical Figures: Learn while coloring famous personalities.
- Hobbies: Sports, music, and art-related themes can be engaging.
- Urban Scenes: Cityscapes and street art provide interesting details.
- Mythology: Greek gods, Norse legends, and folklore offer rich material.
Gathering Materials
Creating your own coloring book is a fun and creative project. The first step involves gathering the right materials. This ensures you have everything you need to get started. Below, we outline the essential supplies and digital tools you’ll need.
Essential Supplies
To begin, you will need some basic art supplies. These are easily available at any craft store. Here is a list of the essential supplies:
- Paper: Choose thick, high-quality paper. It should be able to handle coloring without tearing.
- Pencils: Use pencils for sketching your designs. Mechanical pencils are great for detailed work.
- Erasers: Keep a good eraser handy. Mistakes happen, and a clean eraser will help fix them.
- Black Ink Pens: Use fine-tip pens to outline your sketches. This will make your designs stand out.
- Ruler: A ruler helps keep your lines straight. This is essential for geometric designs.
Gather these supplies and set up a comfortable workspace. Make sure you have good lighting. This will help you see your work clearly.
Digital Tools
If you prefer to work digitally, there are many tools available. These tools can make the process easier and more precise. Here are some digital tools you might need:
| Tool | Purpose |
|---|---|
| Graphics Tablet | Allows you to draw directly onto your computer. |
| Drawing Software | Programs like Adobe Illustrator or Procreate are ideal. |
| Scanner | Scan hand-drawn designs to edit digitally. |
| Printer | Print your final designs onto high-quality paper. |
Using digital tools can offer more flexibility. You can easily edit and refine your designs. Once you have your materials ready, you can start creating your coloring book.
Creating Illustrations
Creating illustrations for your own coloring book is a fun process. Whether you draw by hand or use software, your creativity will shine. Let’s explore two popular methods: drawing by hand and using software.
Drawing By Hand
Drawing by hand gives your coloring book a personal touch. Use a pencil to sketch your ideas. This allows you to erase and make changes easily. Once you’re happy with your sketch, trace over it with a black pen. This creates bold lines for coloring.
You can also use different tools like markers and inks. Experiment with various styles and techniques. Make sure your lines are clear and smooth. This makes it easier for others to color in.
Scan your finished drawings. Save them as high-resolution images. This ensures the best quality for printing your coloring book.
Using Software
Using software can make creating illustrations faster and easier. Programs like Adobe Illustrator and CorelDRAW are popular choices. These tools offer many features for creating digital art.
Start by sketching your ideas on paper. Then, use a digital tablet to trace your sketches. This helps you create clean, precise lines. You can also draw directly into the software using a mouse or stylus.
Use layers to separate different parts of your illustration. This makes editing and coloring easier. Save your files in a format that preserves quality, like .svg or .png.
Below is a comparison of drawing by hand and using software:
| Method | Pros | Cons |
|---|---|---|
| Drawing by Hand | Personal touch, flexible | Time-consuming, need scanning |
| Using Software | Efficient, precise | Learning curve, software cost |
Choose the method that suits you best. Happy illustrating!
Credit: howtonestforless.com
Organizing Your Pages
Creating your own coloring book is an exciting project. To make it look professional, organizing your pages is key. Well-organized pages make your book enjoyable and easy to use. Let’s dive into some essential tips for organizing your pages.
Page Layout
The page layout is the foundation of your coloring book. It helps to decide how each page will look. Consider the size of your book first. Standard sizes are 8.5 x 11 inches or A4.
- Choose a size that is easy to hold and color.
- Ensure there’s enough space for detailed designs.
Next, think about the margins. Margins ensure that no part of your design gets cut off. A 0.5-inch margin on all sides is a good start.
Decide if you want single-sided or double-sided pages. Single-sided pages prevent ink bleed-through. Double-sided pages save paper and make the book thinner.
Consistent Style
A consistent style makes your coloring book visually appealing. Choose a theme for your book. Themes can be animals, flowers, or abstract designs. Stick to your theme throughout the book.
- Pick a style for your lines. Will they be thick or thin?
- Use the same type of lines on every page.
- Keep the difficulty level consistent. Don’t mix very simple and very complex designs.
Using a consistent style makes the book look professional. It also makes it more enjoyable for the users.
| Element | Recommendation |
|---|---|
| Page Size | 8.5 x 11 inches or A4 |
| Margins | 0.5 inches on all sides |
| Page Type | Single-sided or double-sided |
| Line Style | Consistent thickness |
| Theme | Stick to one theme |
Editing And Refining
Creating a coloring book is a fun and creative process. After designing your illustrations, the next step is editing and refining. This stage ensures your coloring book is high-quality and ready for publication. Focus on making your illustrations clean and appealing.
Proofreading Illustrations
Proofreading your illustrations is crucial. Look for any mistakes or inconsistencies in your drawings. Ensure all lines are clean and smooth. Use a fine-tip pen or digital tool to correct any errors.
- Check for smudges or stray marks.
- Ensure all elements are proportional.
- Confirm that each page aligns with the theme.
Getting Feedback
Feedback is essential for improving your coloring book. Share your drafts with friends, family, or fellow artists. Ask for honest opinions on your work.
| Feedback Source | Feedback Type |
|---|---|
| Friends | Overall appeal and fun factor |
| Family | Age-appropriateness and clarity |
| Fellow Artists | Technical accuracy and style |
Consider all feedback seriously. Make adjustments to your illustrations based on constructive criticism. This will help you refine your coloring book further.
Printing Options
Creating your own coloring book is a fun project. Once you have your designs, it’s time to print. There are two main printing options: DIY Printing and Professional Printing. Each has its pros and cons. Let’s explore both.
Diy Printing
DIY printing is great for small projects. You can print at home using a regular printer. This is cost-effective and gives you control over the process. Here’s how to do it:
- Get the right paper. Use thick, high-quality paper for better results.
- Adjust your printer settings. Set it to the highest quality for clear images.
- Print in small batches. This helps manage mistakes and paper jams.
For a polished look, bind the pages. You can use a simple stapler or a spiral binder. If you want to add color, use colored ink or markers. This option is perfect for personal use or small gifts.
Professional Printing
Professional printing is ideal for larger projects. If you plan to sell your coloring book, this is the way to go. Here are the steps:
- Choose a printing service. Look for one with good reviews.
- Upload your designs. Make sure they are in high resolution.
- Select your paper type. Glossy or matte finish can make a big difference.
- Decide on binding. Options include spiral, saddle-stitch, or perfect binding.
Professional printing offers higher quality and more options. It may cost more, but the results are worth it. You can also order in bulk for a lower price per book. This option suits those looking to publish and sell their coloring books.
Whether you choose DIY or professional printing, both have unique benefits. Select the one that best fits your needs and budget.
Binding Your Book
Creating your own coloring book can be fun. Once you’ve designed your pages, it’s time to bind them together. A well-bound book looks professional and is easy to use. Here are some techniques to help you bind your book.
Simple Binding Techniques
These techniques are easy to do at home. You don’t need special tools.
- Stapling: Stack your pages and align them. Use a stapler to secure the edges. This works best for small books.
- Hole Punch and Yarn: Punch holes along one edge of your pages. Thread yarn through the holes and tie it. This method is simple and colorful.
- Binder Clips: Align your pages and use binder clips to hold them. This method is quick and adjustable.
Advanced Binding Methods
These methods require more effort but give a polished look.
- Spiral Binding: Use a spiral binding machine to punch holes and insert a spiral coil. This method allows the book to lie flat.
- Perfect Binding: Apply glue to the spine of your pages and attach a cover. This method creates a smooth, professional finish.
- Sewn Binding: Sew the pages together using a needle and thread. This method is durable and looks elegant.
Choose the binding technique that suits your needs. A well-bound book is easy to use and looks great.

Credit: www.unicornlove.com
Marketing And Selling
Once you’ve created your own coloring book, it’s time to sell it. Marketing and selling your coloring book can be fun and rewarding. Let’s explore some effective ways to get your coloring book in front of buyers.
Online Platforms
Online platforms are a great way to reach a wide audience. Here are some popular options:
- Amazon: List your coloring book on Amazon. It’s a huge marketplace with millions of buyers.
- Etsy: Etsy is perfect for handmade and unique items. Many people search for coloring books here.
- Social Media: Use Facebook, Instagram, and Pinterest to promote your book. Share colorful images and engage with your followers.
- Your Website: Create a website to showcase and sell your coloring book. Use SEO to attract visitors.
Local Markets
Local markets are also a great way to sell your coloring book. Here are some ideas:
- Craft Fairs: Set up a booth at local craft fairs. Display your coloring book with sample pages.
- Bookstores: Partner with local bookstores. They may agree to sell your coloring book on consignment.
- Community Centers: Offer your coloring book at community events. It’s a great way to connect with local buyers.
- Schools: Contact local schools. Teachers might use your coloring book in their classrooms.
| Platform | Pros | Cons |
|---|---|---|
| Amazon | Huge audience, trusted platform | High competition |
| Etsy | Ideal for handmade items, niche market | Fees can add up |
| Social Media | Free promotion, visual appeal | Requires constant engagement |
| Your Website | Full control, no fees | Requires SEO knowledge |
Both online platforms and local markets offer unique benefits. Choose the ones that suit your needs best.
Frequently Asked Questions
What Materials Do I Need To Make A Coloring Book?
You will need paper, drawing tools like pencils or pens, and a scanner. You might also need design software for digital edits.
How Can I Create Unique Coloring Pages?
Start by drawing or tracing images. Use simple, bold lines. Consider themes like animals, nature, or abstract designs.
Should I Use Digital Tools For Designing?
Using digital tools like Adobe Illustrator can help. They offer precision and ease for editing your designs.
How Do I Publish My Coloring Book?
You can self-publish through platforms like Amazon KDP. Alternatively, consider print-on-demand services or local print shops.
Conclusion
Creating your own coloring book is a fun and rewarding project. It allows you to express creativity and share it with others. Follow the steps outlined in this guide to bring your unique designs to life. Enjoy the process and watch your artistic skills flourish.
Start your coloring book journey today!