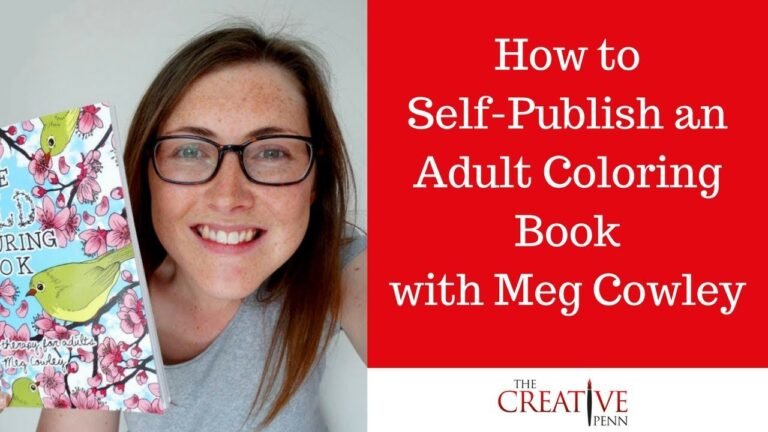
How to Make a Custom Coloring Book: Step-by-Step Guide
Creating a custom coloring book is fun. It’s a great way to express creativity. You can make it for kids or adults. Follow these simple steps to make your own coloring book.
Step 1: Gather Your Materials
First, you need to gather some materials. Here is a list of what you will need:
- Blank paper or sketchbook
- Pencils and erasers
- Black fine-tip markers or pens
- Scanner (optional)
- Printer
- Coloring tools (crayons, markers, colored pencils)
- Binding materials (stapler, glue, or hole punch and ribbon)
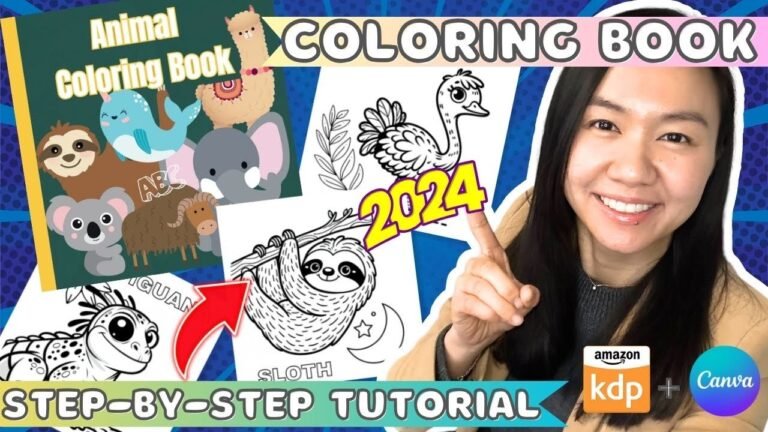
Step 2: Choose a Theme
Next, choose a theme for your coloring book. Here are some ideas:
- Animals
- Nature
- Cartoons
- Fantasy creatures
- Space
- Underwater adventures
- Holidays
Pick a theme that you or your kids love. This makes the coloring book more fun.
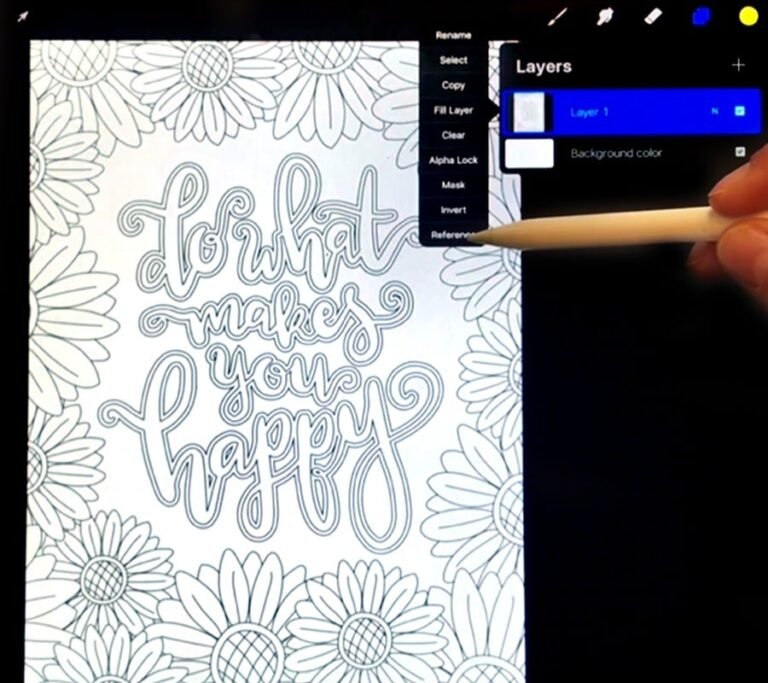
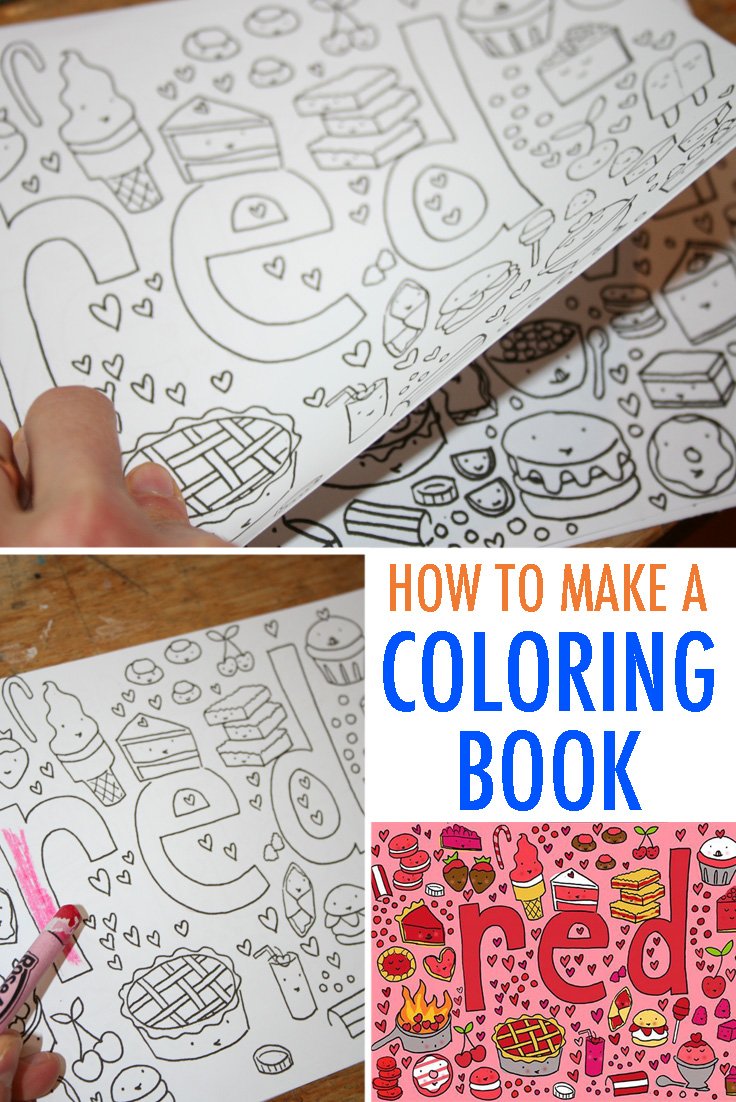
Step 3: Create Your Drawings
Now, start drawing your pictures. Use a pencil first. This way, you can erase mistakes. Draw simple and clear lines. Kids like easy-to-color pictures. Once happy with your drawing, trace over it with a black marker. Let the ink dry. Then, erase the pencil lines.
Step 4: Scan and Print Your Drawings
If you have a scanner, use it to scan your drawings. Save them on your computer. Then, print them out. If you don’t have a scanner, you can skip this step. Just use the original drawings.
Credit: howtonestforless.com
Step 5: Arrange Your Pages
Decide the order of your pages. Think about the flow of your theme. Place the pages in the order you want. Now, it’s time to bind them together.
Step 6: Bind Your Coloring Book
There are many ways to bind your book. Here are a few options:
| Method | Instructions |
|---|---|
| Stapler | Align the pages. Staple along the left edge. |
| Glue | Apply glue along the left edge. Press the pages together. |
| Hole Punch and Ribbon | Punch holes along the left edge. Thread a ribbon through the holes. Tie a knot to secure. |

Credit: m.youtube.com
Step 7: Add a Cover
Every book needs a cover. Create a fun cover for your coloring book. Use a thicker paper for the cover. Draw a picture that matches your theme. Write the title of your coloring book. You can also add your name as the author. Attach the cover to the front of your book.
Step 8: Start Coloring
Your custom coloring book is ready! Grab your coloring tools. Start coloring your creations. Share your coloring book with friends and family. They will love it too.
Tips and Tricks
Here are some extra tips to make your coloring book even better:
- Use different types of paper for texture variety.
- Include fun facts or short stories on each page.
- Make themed coloring books for special occasions like birthdays or holidays.
- Add mazes, puzzles, or other activities to some pages.
- Create a digital version and share it online.
Benefits of Making a Custom Coloring Book
Making a custom coloring book has many benefits:
- Boosts creativity
- Improves fine motor skills
- Provides a relaxing activity
- Offers a personalized gift option
- Encourages storytelling and imagination
Frequently Asked Questions
What Materials Do You Need?
You need paper, coloring tools, and a printer.
How Do You Choose A Theme?
Select a theme based on interests or hobbies.
Can You Use Digital Images?
Yes, digital images can be printed for coloring.
How Do You Create Custom Pages?
Design pages using graphic software or online tools.
Conclusion
Creating a custom coloring book is a fun and rewarding activity. It’s perfect for kids and adults. With a few simple materials and a bit of creativity, you can make a unique coloring book. Follow these steps and tips to get started. Enjoy making and coloring your custom book!