How to Create Your Own Coloring Book: Step-by-Step Guide
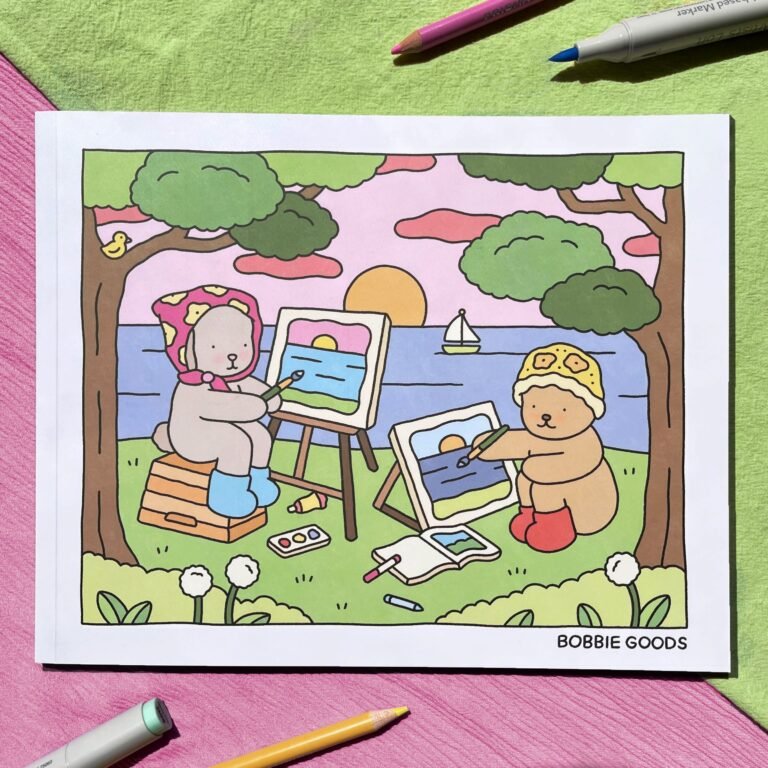
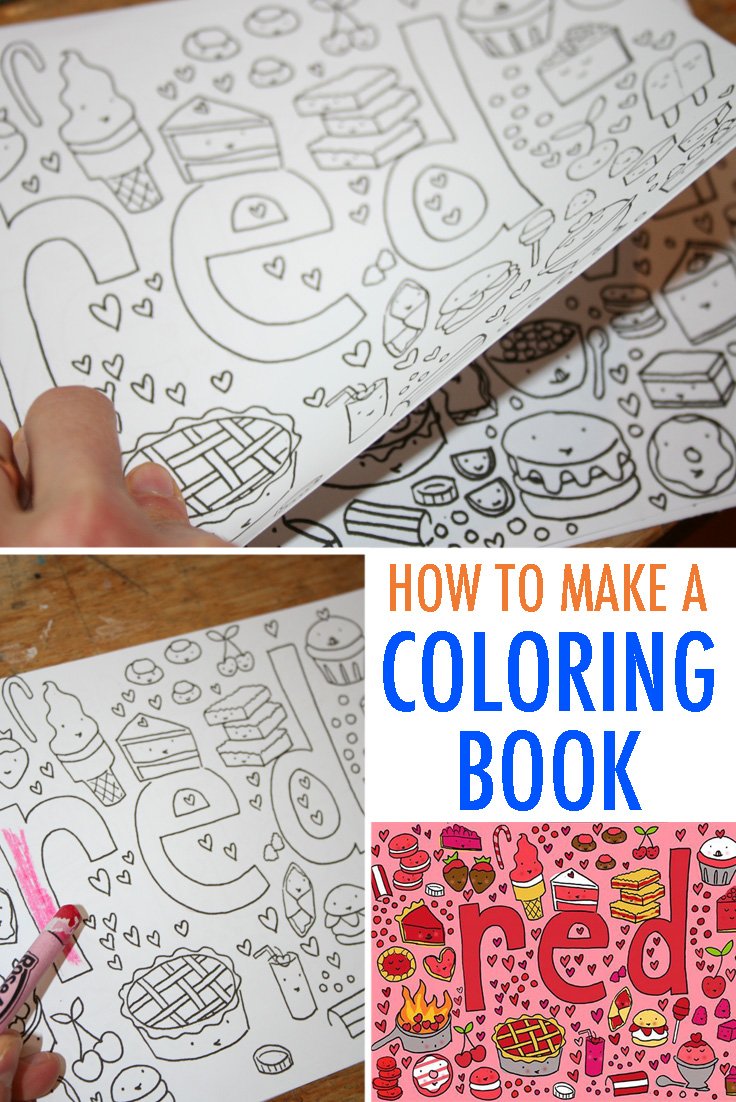
Credit: howtonestforless.com
Why Create Your Own Coloring Book?
Creating your own coloring book is fun and easy. It lets you be creative and make something unique. You can choose your favorite subjects and designs.
It is also a great gift for friends and family. They will love a personalized coloring book made just for them.
Materials You Will Need
Before you start, gather these materials:
- Paper
- Pencils
- Black ink pens
- Erasers
- Ruler
- Scanner or camera
- Computer with software (like Photoshop)
- Printer
- Binding materials (like staples or a spiral binder)
Step-by-Step Guide to Creating Your Coloring Book
Step 1: Plan Your Coloring Book
First, decide on a theme. Your theme could be anything you like. It could be animals, flowers, or even superheroes.
Next, decide how many pages you want. A good coloring book has 20 to 30 pages. Make a list of the pictures you want to draw.
Step 2: Draw Your Pictures
Start drawing your pictures on the paper. Use a pencil to sketch your designs first.
Once you are happy with your sketch, go over it with a black ink pen. This makes the lines bold and easy to color.
Use the ruler to make sure your lines are straight. Erase any pencil marks after the ink dries.
Step 3: Scan Your Drawings
After you finish drawing, scan your pictures. If you don’t have a scanner, you can take photos with a camera.
Upload the scanned images to your computer. This will help you organize and edit your pictures.
Step 4: Edit Your Pictures
Use software like Photoshop to edit your pictures. You can adjust the brightness and contrast. Make sure the lines are clear and sharp.
You can also add text or special effects. Save each edited picture as a high-quality file.
Step 5: Organize Your Pages
Arrange your pictures in the order you want them in the book. Create a cover page for your coloring book.
Use a word processor to create a table of contents. This will help people find their favorite pages easily.
Step 6: Print Your Coloring Book
Print your coloring book pages on high-quality paper. This makes it easier to color and prevents ink from bleeding.
Print the cover page on thicker paper. This makes your coloring book look professional.
Step 7: Bind Your Coloring Book
You can bind your coloring book in different ways. Use staples, a spiral binder, or even a hole punch and ribbon.
Make sure all the pages are aligned before binding. This ensures your coloring book looks neat and tidy.

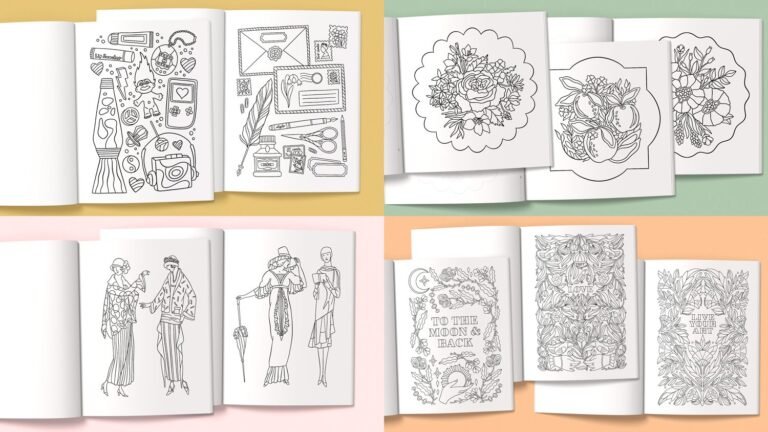
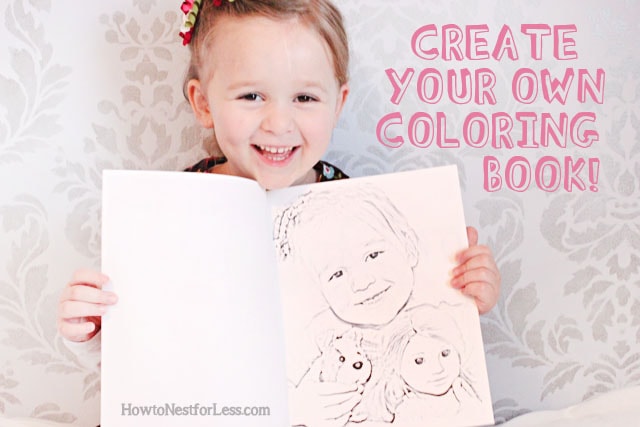
Credit: www.julieerindesigns.com
Tips for a Great Coloring Book
Here are some tips to make your coloring book special:
- Use simple designs that are easy to color.
- Leave enough space between lines.
- Include a mix of easy and complex pictures.
- Use themes that interest your audience.
- Test your designs by coloring them yourself.
Benefits of Creating Your Own Coloring Book
Creating your own coloring book has many benefits. It helps you practice drawing and improve your skills.
It also gives you a sense of accomplishment. You created something unique and special.
Sharing your coloring book with others spreads joy. It can also be a fun family activity to do together.
Frequently Asked Questions
What Materials Do I Need?
You need paper, coloring tools, and a printer.
How Do I Choose A Theme?
Pick a theme that interests you or your audience.
Can I Use Digital Drawing Tools?
Yes, tools like Adobe Illustrator are great.
Where Can I Find Inspiration?
Look at other coloring books and nature.
Conclusion
Creating your own coloring book is a fun and rewarding project. Follow these steps and tips to make your own beautiful coloring book.
Enjoy the process and share your creation with others. Happy drawing and coloring!