How to Bind a Coloring Book: Step-by-Step Guide
Coloring books are fun. Kids and adults both enjoy them. But what if you want to create your own? Making a coloring book is easy. In this guide, we will show you how to bind a coloring book. Follow these steps, and you will have a personalized coloring book ready in no time.
Materials You Will Need
- Coloring pages (printed or drawn)
- Cardstock for the cover
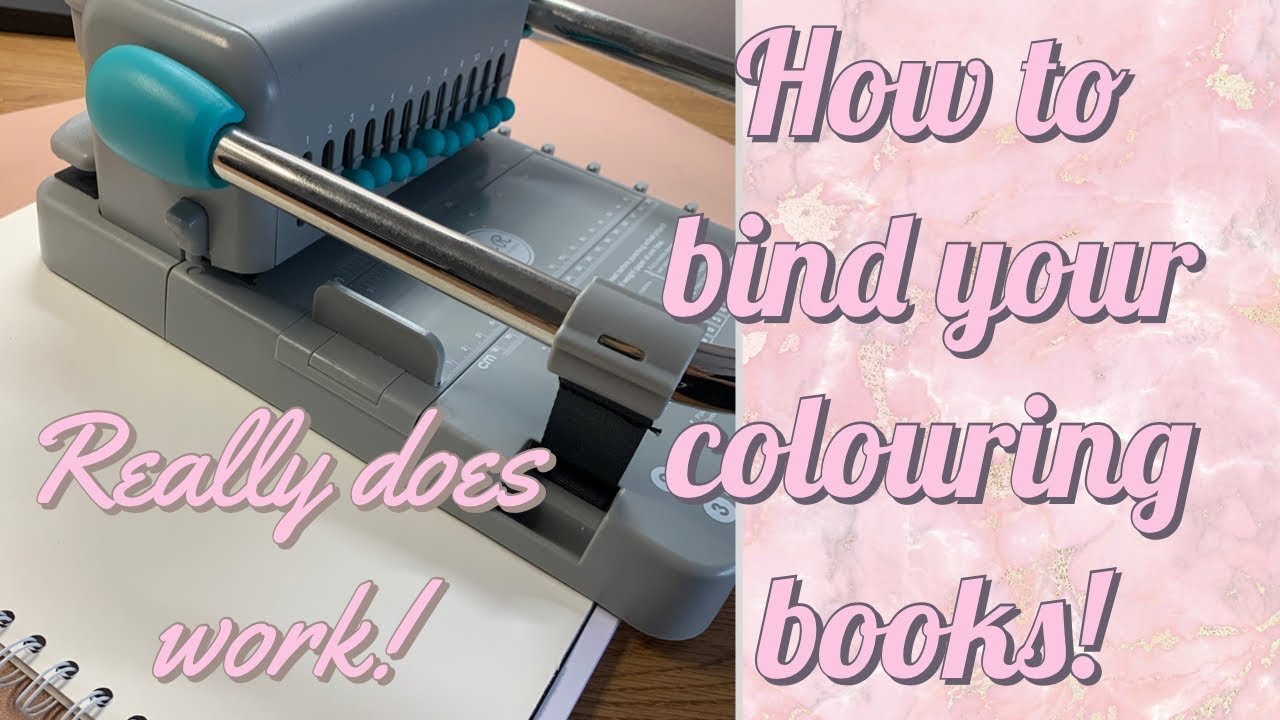
- Hole puncher
- Binder rings or ribbon
- Scissors
- Ruler
- Markers or crayons
Step 1: Gather Your Coloring Pages
First, you need to gather your coloring pages. You can print them from the internet or draw your own. Make sure all the pages are the same size. This will make the binding process easier.
Step 2: Create a Cover
Next, create a cover for your coloring book. Use cardstock for this. The cover should be the same size as your coloring pages. Decorate the cover with markers or crayons. You can also add a title to make it look nice.
Step 3: Punch Holes in the Pages
Now, take your hole puncher. Punch holes along the left side of each page. Make sure the holes line up. You can use a ruler to measure the distance between the holes. This will help keep the pages aligned.

Credit: www.pinterest.com

Credit: www.youtube.com
Step 4: Punch Holes in the Cover
After punching holes in the pages, punch holes in the cover. The holes in the cover should line up with the holes in the pages. Use the same measurements as you did for the pages.
Step 5: Bind the Pages Together
Now it’s time to bind the pages together. You can use binder rings or ribbon for this. If you are using binder rings, open them and thread them through the holes. If you are using ribbon, cut a piece long enough to go through the holes. Thread the ribbon through the holes and tie a knot to secure it.
Step 6: Add Finishing Touches
Your coloring book is almost ready. Now, add some finishing touches. You can add stickers or draw some designs on the cover. This will make your coloring book unique and special.
Why Binding Your Own Coloring Book is Fun
Binding your own coloring book is fun. It lets you be creative. You can choose your favorite coloring pages. You can design your own cover. It also makes a great gift. You can make a personalized coloring book for a friend. They will love it!
Tips for a Perfect Coloring Book
- Use high-quality paper for the coloring pages.
- Make sure all pages are the same size.
- Use a ruler to measure the distance between the holes.
- Decorate the cover to make it look nice.
- Bind the pages tightly so they don’t fall out.
Binding a Coloring Book: A Step-by-Step Summary
| Step | Description |
|---|---|
| 1 | Gather your coloring pages. |
| 2 | Create a cover using cardstock. |
| 3 | Punch holes in the pages. |
| 4 | Punch holes in the cover. |
| 5 | Bind the pages using rings or ribbon. |
| 6 | Add finishing touches. |
Now you know how to bind a coloring book. It is an easy and fun activity. You can do it with your kids or friends. Enjoy your new coloring book!
Frequently Asked Questions
How To Bind A Coloring Book Easily?
Use a comb binding machine to bind pages.
What Materials Are Needed For Binding?
You need a binding machine, combs, and covers.
Which Binding Method Is Best For Kids?
Comb binding is safe and durable for kids.
Can I Bind At Home Without A Machine?
Yes, use a three-hole punch and binder rings.
