How Do I Make a Coloring Book: Step-by-Step Guide
Creating a coloring book is a fun and creative activity. It’s a great way to express your creativity. Plus, it’s easy to do with the right steps. Follow this guide to make your own coloring book.
Step 1: Choose a Theme
The first step is to choose a theme. A theme helps to keep your book cohesive. Here are some theme ideas:
- Animals
- Nature
- Fantasy
- Cartoons
- Holiday
Step 2: Gather Your Supplies
Next, gather all the supplies you will need. Here’s a list of basic supplies:
- Pencils
- Markers
- Eraser
- Paper
- Scanner or Camera
- Computer with Editing Software
- Printer
Step 3: Create Your Illustrations
Start drawing your illustrations. You can draw by hand or use digital tools. Ensure your drawings are clear and simple. Kids enjoy easy-to-color images.
Drawing By Hand
If you draw by hand, use a pencil first. Then, go over your drawing with a marker. Erase the pencil lines once the marker is dry.
Drawing Digitally
If you prefer digital drawing, use software like Photoshop or Illustrator. These tools make it easy to create clean lines and shapes.
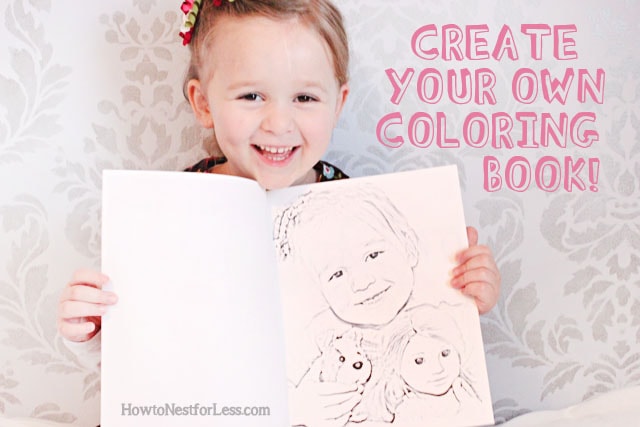
Credit: howtonestforless.com
Step 4: Scan and Edit Your Drawings
Once your drawings are ready, scan them into your computer. If you don’t have a scanner, you can use a camera. Make sure the images are clear and high quality.
Editing Your Images
Edit your images using software like Photoshop. Adjust the brightness and contrast. Remove any smudges or errors. Ensure all lines are clean and clear.
Step 5: Layout Your Coloring Book
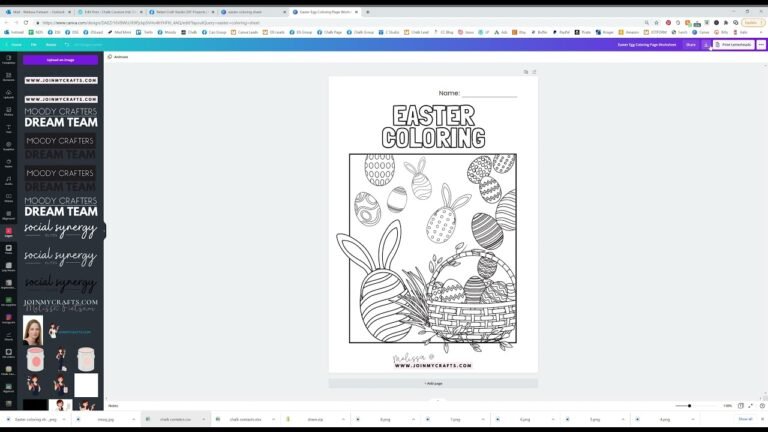
Now, it’s time to layout your coloring book. Use software like Adobe InDesign or Microsoft Word. Arrange your images in a logical order. Add a cover page and a title page.
| Page | Content |
|---|---|
| 1 | Cover Page |
| 2 | Title Page |
| 3-10 | Coloring Pages |
Step 6: Print Your Coloring Book
Once your layout is ready, print your coloring book. You can use a home printer or a professional printing service. For best results, use thick paper. This prevents markers from bleeding through the pages.
Step 7: Bind Your Coloring Book
Binding your book keeps it together. You can use a simple staple binding. Or, you can use spiral binding for a more professional look. Many print shops offer binding services.
Step 8: Share Your Coloring Book
Now, it’s time to share your coloring book. You can give it to friends and family. Or, you can sell it online. Websites like Etsy and Amazon are great for selling handmade items.
Promote Your Coloring Book
Promote your book on social media. Share pictures and videos of your book. Ask your friends to share it too. The more people see it, the more likely they are to buy it.

Credit: m.youtube.com
Benefits of Making Your Own Coloring Book
Creating a coloring book has many benefits. Here are a few:
- Improves creativity
- Provides a fun activity for kids
- Can be a great gift
- Opportunity to earn money
Frequently Asked Questions
How Do I Start Making A Coloring Book?
Begin by choosing a theme and creating outlines of your drawings.
What Software Is Best For Creating Coloring Books?
Adobe Illustrator and Procreate are popular choices for creating detailed, high-quality illustrations.
Can I Make A Coloring Book By Hand?
Yes, you can draw illustrations by hand and scan them for printing or digital use.
How Many Pages Should A Coloring Book Have?
A typical coloring book has 20 to 50 pages, depending on the complexity of designs.
Conclusion
Making a coloring book is fun and easy. Follow these steps to create your own. Remember to choose a theme, gather supplies, and draw your illustrations. Scan, edit, and layout your book. Print and bind it. Then, share it with the world. Enjoy your creative journey!

